GachaBuilds
Arlecchino
Genshin Impact

Arlecchino Build guides

Equipment options · Main stats · Team examples

Your build plan

For Arlecchino, compare 4pc Fragment of Harmonic Whimsy (FHW) while keeping the recommended ATK% or EM / Pyro DMG Bonus / CRIT Rate or CRIT DMG setup fixed. A weapon or set change is easier to judge when you do not also change the team and skill timing.

Equipment options

23 options

Start with equipment you can actually obtain. These are alternative recommendations, not pieces to equip together. Refinement, set size and team restrictions change the result.

Artifact sets

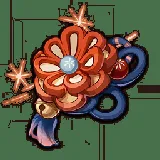
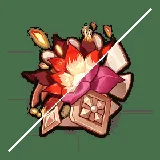
4pc Fragment of Harmonic Whimsy   (FHW)
4pc Fragment of Harmonic Whimsy (FHW)
4pc Night of the Sky’s Unveiling (NotSU)
4pc Unfinished Reverie
4pc Gladiator’s Finale
+8 options
4pc Echoes of an Offering
4pc Desert Pavilion Chronicle
4pc Retracing Bolide
4pc Shimenawa’s Reminiscence
4pc Crimson Witch of Flames
4pc Gilded Dreams
4pc Gilded Dreams
2pc Mixed Sets
2pc Mixed Sets
4pc Marechaussee Hunter

Weapons

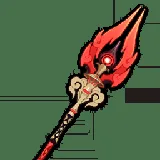
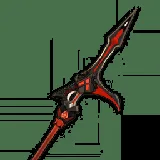
5★   Crimson Moon’s Semblance
5★ Crimson Moon’s Semblance
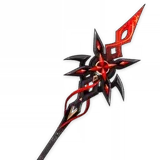
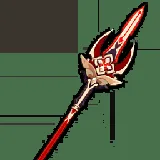
5★   Primordial Jade Winged-Spear
5★ Primordial Jade Winged-Spear
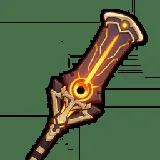
5★   Staff of the Scarlet Sands
5★ Staff of the Scarlet Sands
5★ Fractured Halo
5★ Fractured Halo
+7 options
5★   Staff of Homa
5★ Staff of Homa
5★   Lumidouce Elegy ,  Symphonist of Scent
5★ Lumidouce Elegy , Symphonist of Scent
4★   Deathmatch
4★ Deathmatch
4★   Ballad of the Fjords
4★ Ballad of the Fjords
5★   Calamity Queller ,  Vortex Vanquisher ,  Bloodsoaked Ruins ,  Disaster and Remorse
5★ Calamity Queller , Vortex Vanquisher , Bloodsoaked Ruins , Disaster and Remorse
3★   White Tassel
3★ White Tassel
4★   Blackcliff Pole
4★ Blackcliff Pole

Main stats

Use the slot recommendations to make your first functional setup. When several stats are listed, choose the one that fills the gap in your current team rather than mixing every option.

SandsATK% or EMGeneral
GobletPyro DMG BonusGeneral
CircletCRIT Rate or CRIT DMGGeneral

Investment & configurations

Practice sequence

N3D

Practice sequence

N5D

Practice sequence

N2C and N3C

Practice sequence

Charged Attack cancellation

Practice sequence

N3 before the first Charged Attack

Practice sequence

(EQ) E (N1) > Team > C combo

GACHABUILDS

Test your setup

Balance critical rate with critical damage. A large damage number is less useful when critical hits are inconsistent; evaluate the complete setup rather than a single item.

Choose one option, run the same encounter twice, and change one variable. Record whether the next rotation starts on time and whether the team survives without losing its damage window.


Checked · 2026-10-13Reference data: KQM · —

More characters