For Rosaria, compare 4pc Gilded Dreams (GD) while keeping the recommended EM or ATK% · Cryo DMG Bonus · CRIT Rate or CRIT DMG setup fixed. A weapon or set change is easier to judge when you do not also change the team and skill timing.
Equipment options
46 options
Start with equipment you can actually obtain. These are alternative recommendations, not pieces to equip together. Refinement, set size and team restrictions change the result.
Artifact sets
4pc Gilded Dreams (GD)Reverse Melt
4pc LavawalkerReverse Melt
4pc Unfinished ReverieReverse Melt
4pc Emblem of Severed Fate (EoSF)Reverse Melt
+13 options
2pc + 2pc Mixed SetsReverse Melt
4pc Blizzard Strayer (BS)Freeze / Mono Cryo
4pc Marechaussee Hunter (MH)Freeze / Mono Cryo
4pc Emblem of Severed Fate (EoSF)Freeze / Mono Cryo
4pc Noblesse ObligeFreeze / Mono Cryo
4pc Scroll of the Hero of Cinder City (Scroll)Freeze / Mono Cryo
2pc + 2pc Mixed SetsFreeze / Mono Cryo
4pc Archaic Petra (AP)Freeze / Mono Cryo
4pc Noblesse ObligeSupport
4pc Scroll of the Hero of Cinder City (Scroll)Support
4pc Emblem of Severed Fate (EoSF)Support
2pc + 2pc Mixed SetsSupport
4pc Archaic Petra (AP)Support
Weapons
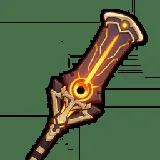
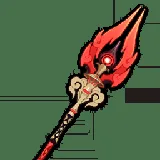
5★ Staff of the Scarlet SandsReverse Melt
5★ 608 Base ATK Polearms with CRIT secondary statsReverse Melt
5★ Calamity QuellerReverse Melt
4★ Ballad of the FjordsReverse Melt
+25 options
4★ DeathmatchReverse Melt
4★ Wavebreaker’s FinReverse Melt
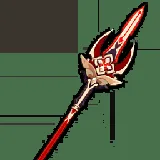
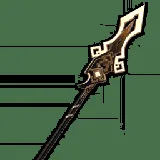
5★ Primordial Jade Winged-SpearReverse Melt
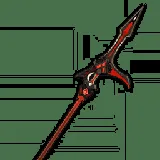
5★ Crimson Moon’s SemblanceReverse Melt
4★ Dragon’s BaneReverse Melt
4★ Missive WindspearReverse Melt
4★ “The Catch”Reverse Melt
5★ Fractured Halo, Staff of Homa, Symphonist of ScentsFreeze / Mono Cryo
5★ Calamity QuellerFreeze / Mono Cryo
4★ Wavebreaker’s FinFreeze / Mono Cryo
4★ DeathmatchFreeze / Mono Cryo
5★ CRIT Rate PolerarmsFreeze / Mono Cryo
4★ Lithic SpearFreeze / Mono Cryo
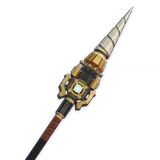
4★ Prospector’s DrillFreeze / Mono Cryo
5★ Vortex VanquisherFreeze / Mono Cryo
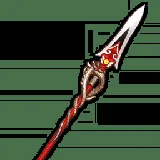
4★ Favonius LanceFreeze / Mono Cryo
4★ “The Catch”Freeze / Mono Cryo
4★ Blackcliff PoleFreeze / Mono Cryo
4★ Crescent PikeFreeze / Mono Cryo
4★ Favonius LanceSupport
5★ Staff of the Scarlet SandsSupport
4★ DeathmatchSupport
5★ Primordial Jade Winged-SpearSupport
5★ Engulfing LightningSupport
4★ “The Catch”Support
Main stats
Use the slot recommendations to make your first functional setup. When several stats are listed, choose the one that fills the gap in your current team rather than mixing every option.
SandsEM or ATK%Reverse Melt
GobletCryo DMG BonusReverse Melt
CircletCRIT Rate or CRIT DMGReverse Melt
SandsATK% or ERFreeze / Mono Cryo
GobletCryo DMG BonusFreeze / Mono Cryo
CircletCRIT DMG or CRIT RateFreeze / Mono Cryo
SandsER or ATK%Support
GobletCryo DMG BonusSupport
CircletCRIT Rate or CRIT DMGSupport
Investment & configurations
Practice sequence
E Q
Practice sequence
Q E
Practice sequence
E > Teammate
GACHABUILDS
Test your setup
Balance critical rate with critical damage. A large damage number is less useful when critical hits are inconsistent; evaluate the complete setup rather than a single item.
Choose one option, run the same encounter twice, and change one variable. Record whether the next rotation starts on time and whether the team survives without losing its damage window.